ADDING Textboxes, tables, & images in LESSONS
|
Here you will learn how to input tables and images yourself if you
don't want to just copy & paste the code. In this in-depth tutorial, you will learn how to:
|
|
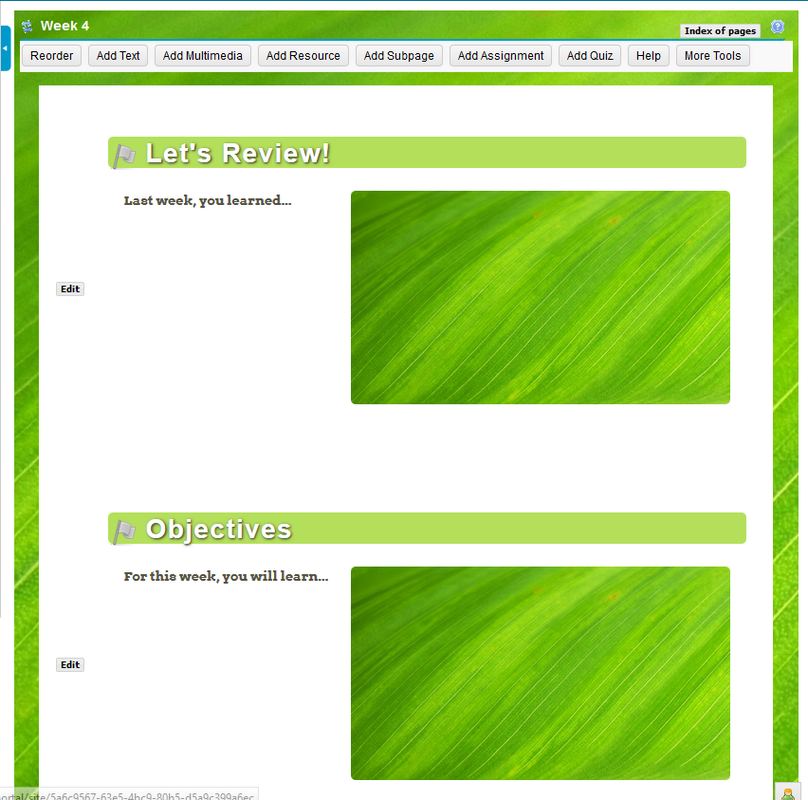
When you click on your Week, it should look like this
|
At the end of this tutorial, it should look something like this.
|
Step 1: Add a Textbox and customize Textbox.
|
|
STEP 2: Add a Table and Customize Table.
|
|
STEP 3: Add Text to the table.
|
|
STEP 4: ADD AN IMAGE TO THE TABLE.
|
|
STEP 5: ADD an icon in the textbox.
|
|
Repeat StepS 1-5 for each Weekly subpage
and change the titles of the textboxes to the following categories:
- Let's Review!
- Objectives
- Activities
- Assignments
- Apply Your Knowledge!
STEP 6: Add the SSM-template.
|
|
STEP 7: Edit a Textbox and Swap out an image.
|
|
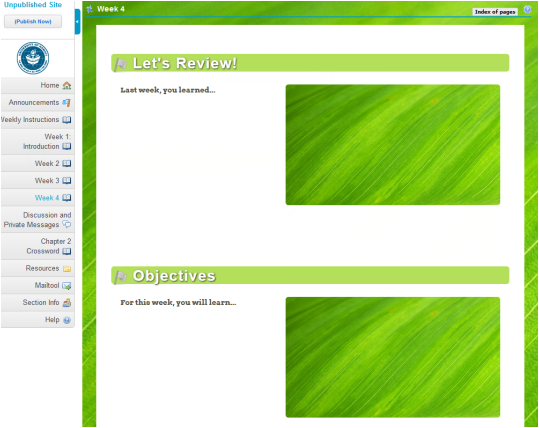
Your course should look something like this:
|
If you would like to have a background image as seen in the image to the left or more customizations and icons, please add me ([email protected]) as an Instructor to your course and I can quickly apply them for you.
|
